Data Display for SPIKE Prime
A complaint I have with SPIKE Prime and Robot Inventor is in displaying sensor data. The LED matrix display isn't very good for this. You can scroll text across the matrix, but this takes some patience and concentration to view. I want to be able to glance at a display and see the value of data, along with a quick update rate of values. So I connected a 7-segment LED display to SPIKE Prime. As in the video above, I tested it out to display the angle encoder data from a motor.

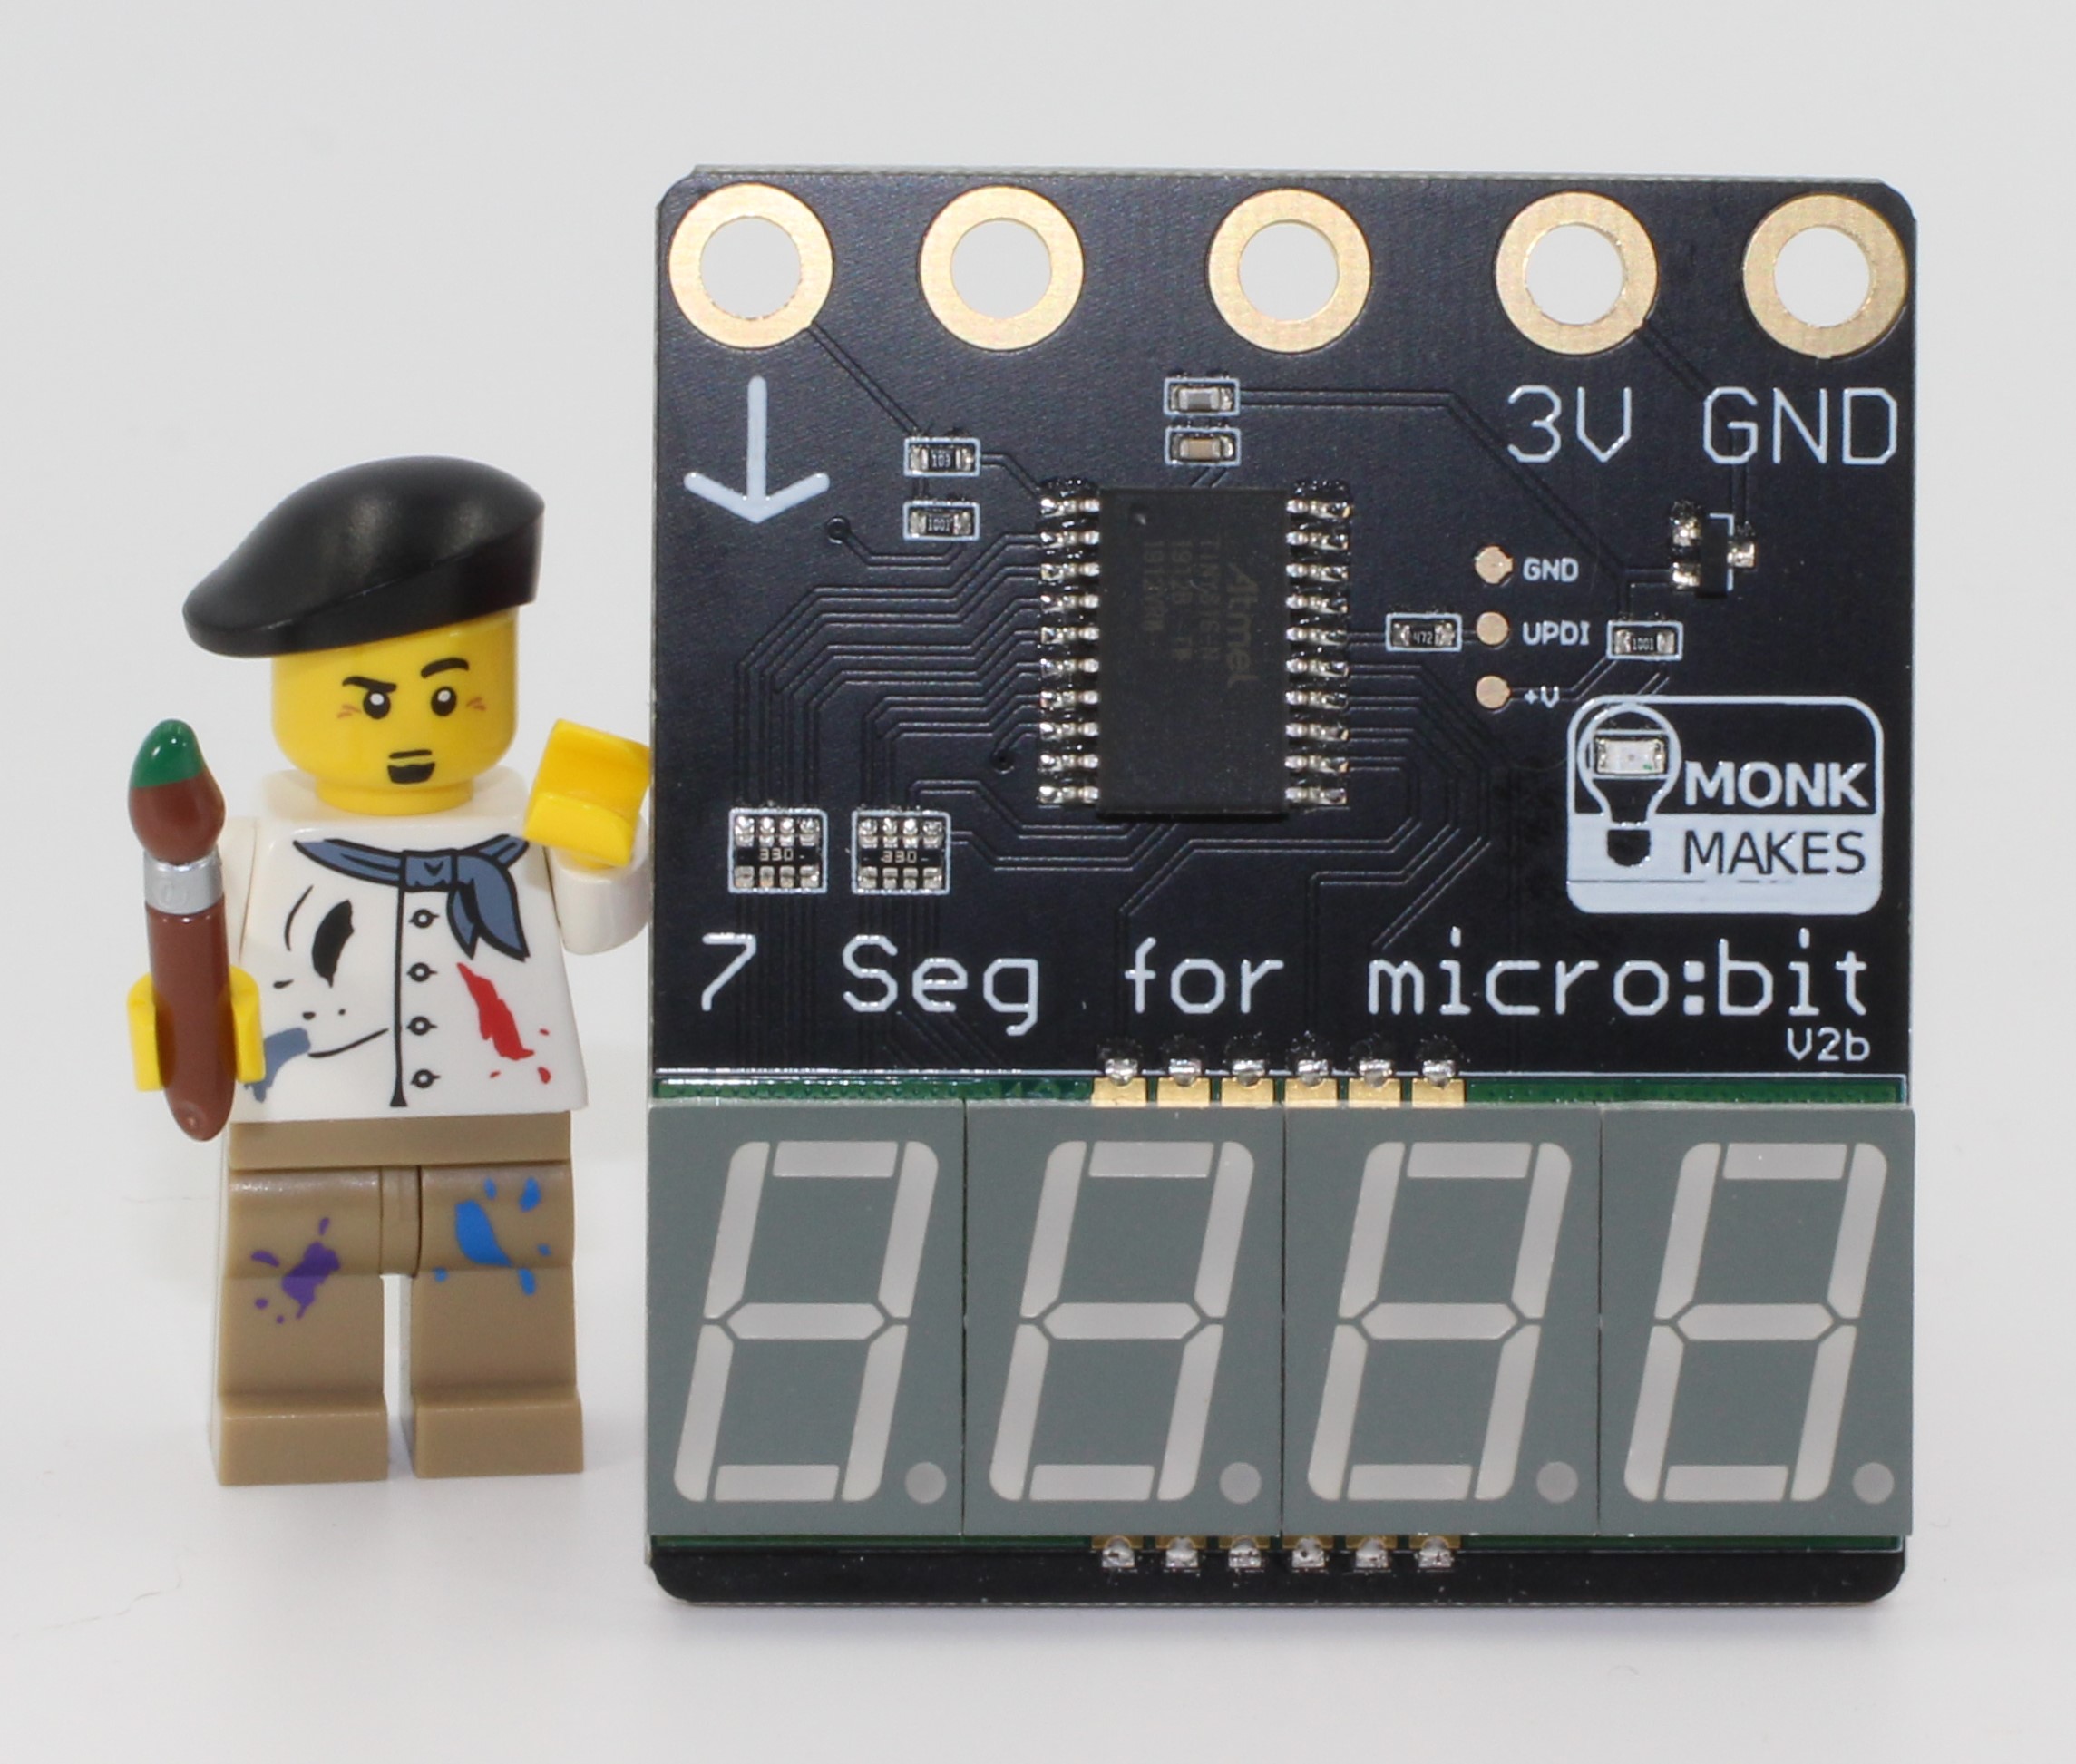
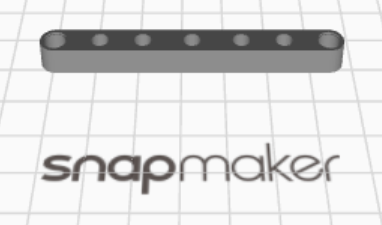
The display I used here is from Monk Makes (www.monkmakes.com/mb_7_seg.html), as pictured above. This display is actually meant to be used with a Micro:bit, but I found it works fine as well with LEGO. The mounting for the display matches that of a Micro:bit, and so to attach to a LEGO structure I 3D-printed an adapter. As shown below this adapter has Technic holes on either end, and 5 small holes that line up with the display. Screws can go through the small holes for mounting, such as the two holes not used for electrical connections. The holes in the printed adapter also serve to engage the tip of a banana plug for a good electrical contact. E-mail me (grady@hightechlego.com) if you'd like a copy of the file to setup on your printer.

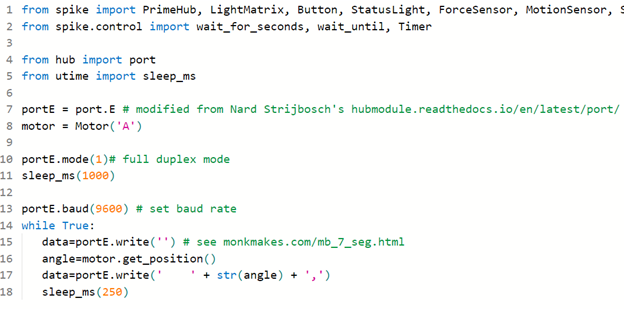
The data transfer from SPIKE Prime to the display is by UART, and the display is well documented (www.monkmakes.com/mb_7_seg.html) with the Python code to make it work. Python code is listed below. Nard Strijbosch has written an excellent guide to working with UART data transfer at https://hubmodule.readthedocs.io/en/latest/port/.

